Tuesday, September 11, 2012

Mom's Birthday Pie

I wasn't sure what else to call this... I guess I could've just called it "Freezer Caramel Drizzle Pie" like the original recipe does, but I don't think that name really captures the essence of this pie. I mean, there's a lot more going on here than caramel and a freezer. There's also toasted coconut and pecans, and cream cheese blended with sweetened condensed milk and whipped topping. How do you express all of that in the form of a recipe title?

Anywho, my mom found this recipe and decided that she wanted this frozen treat for her birthday instead of a traditional birthday cake. Just beware, this recipe does take advanced preparation, as you must let a large tub of whipped topping thaw in the fridge for a few hours, and once the pies are made they have to sit in the freezer overnight.

Here's what you'll need -- no oven required!

2 9-inch prepared graham cracker crusts
6 tablespoons butter
1 (7 oz.) package shredded or flaked coconut
1 cup chopped pecans
1 (14 oz.) can sweetened condensed milk
1 (8 oz.) package cream cheese, softened
1 (16 oz.) tub frozen whipped topping, thawed*
1 (12 oz.) jar caramel sauce

*The tub should tell you how to properly thaw the frozen whipped topping. The package I had said to let it sit in the fridge for 6 hours.

First you'll want to prepare the topping. Get out a nice big skillet and heat it up to medium, melting the butter. Once the butter is melted, add the coconut and chopped pecans and make sure it all gets a nice coating of butter. You'll want to keep the mixture moving at regular intervals to avoid burning it, as you just want it to get nice and lightly toasted. This will take about 5 minutes. Once it's done, you'll want to turn off the heat and set it aside for later.


Next you'll want to soften the cream cheese. I usually throw it in a microwavable bowl and microwave it for about 30 seconds; alternatively, you could let it soften by letting it sit on the counter at room temperature for a while. Either way, you'll want to combine the softened cream cheese and your can of sweetened condensed milk in a large mixing bowl and get to mixing. I turned the mixer up to probably medium or so, letting the ingredients get nice and whipped together so that there weren't any chunks of cream cheese.


Next up, you'll need a big rubber spatula to fold in the entire 16-ounce tub of thawed whipped topping. This really adds quite a bit of volume to the pie mixture. I kept folding and mixing gently until the mixture was nice and uniform.
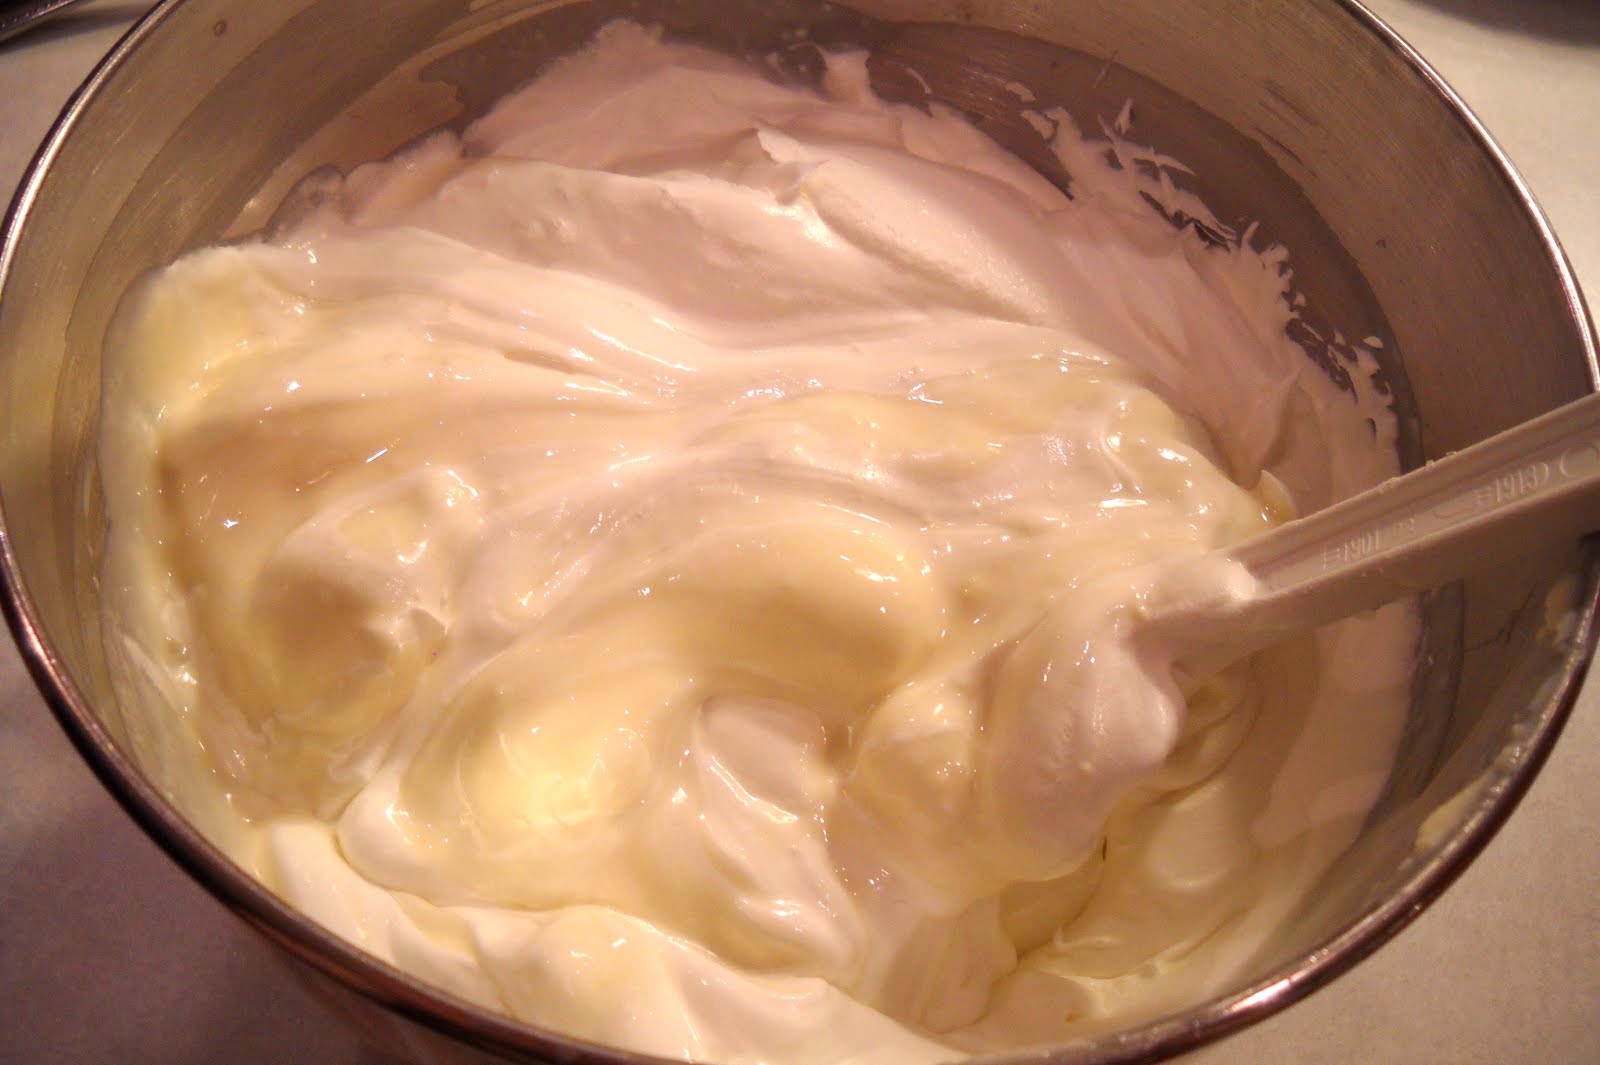

Now to assemble! Pull out those pie crusts and add about 1/4 of the cream cheese and whipped topping mixture to each. Then top each with a layer of gooey delicious caramel sauce (yum!). The recipe says to drizzle, but I pretty well covered the first layer of the cream cheese mixture on both pies, using the back of a spoon to spread it out a bit. Then you'll want to repeat the layers with the remaining cream cheese mixture and caramel sauce. (I'll admit, the first layer of caramel sauce was a little heavy and I had very little of it left for the second layer of caramel, but I think it turned out fine anyway.)


It's looking pretty sweet, right? But we're not done just yet. Remember that toasty coconut and pecan topping we made earlier? Spread half of it on top of each pie.


Now it's like "whooooooooa." You might get a cavity just looking at it. Anyway, now it's time for the painful part of the process. You must let the pies sit in the freezer overnight. Horrible, isn't it? But according to my mom, it's worth the wait. Actually, she says it's the best pie she's ever had, and possibly the best dessert she's ever eaten.


I'm glad you liked it so much, Mom. Happy birthday! I love you. <3

Your Cupcake,

~Jesia <3

Sunday, August 26, 2012

Super Simple Crackle Cookies

The truth is, I like to refer to these cookies as "cocaine cookies," because they're covered in powdered sugar. But I think calling them "crackle cookies" sounds a little... nicer, I guess? Anyway, this is a recipe that I remember learning while in a cooking class in high school. It only involves four simple ingredients. The best part? You can make these sweet, chewy cookies any flavor you want just by using different flavors of cake mix.

Speaking of cake mix... I've just discovered a disturbing and apparently recent trend in the cake mix industry. When I went to the store to buy my cake mix, the first thing I noticed was that the particular brand I usually get had raised in price by 20 cents. While perturbed, I kind of shrugged it off. But suddenly I noticed something else that was different -- instead of the usual (and I would assume standard) 18.25 ounces, the box indicated that it only contained 15.25 ounces. So, wait a minute... Why am I being charged more money for less product? I put the box back and picked up a different brand that was still the standard 18.25 ounces, despite it being slightly more expensive per ounce.

I looked up some information on the Internet and found that many consumers are upset over the change in product volume. While companies say that they have "reformulated" their cake mixes so that they produce the same size cakes with less mix, the general consensus among bakers seems to be that the new formula just doesn't work. The cakes sink or otherwise don't turn out right, have more air bubbles and therefore more holes due to the increase in leavening agents, and when making cupcakes one must choose between making them smaller or simply making fewer than the standard 24. And in case you're wondering, yes, the boxes that contain 15.25 ounces still say that you can make one 13"x9", two 8" or 9" round cakes, or 24 cupcakes. How does this make sense? Unfortunately, from what I researched it sounds like all of the major companies that produce cake mix are going to the smaller boxes. ='( I don't know about you, but I'd rather pay a little more for the same formula and amount of product, especially since the recipes we bakers use have come to depend on the standard 18.25 ounce boxes of cake mix.

Well, there's my cake mix rant. On to the recipe!

Here's what you need:

1 (18.25 oz.) box of cake mix, any flavor
1 (8 oz.) tub Cool Whip® whipped topping, thawed in the refrigerator
1 egg
Powdered sugar


Before you even get out the mixing bowl, I must stress that the whipped topping must be thawed in the refrigerator first; the tub should have instructions on how to do so (i.e., place in the refrigerator for at least 4 hours, do not microwave, etc.). If the Cool Whip® is still frozen when you try to blend it with the cake mix and egg, it will be more difficult to stir and make a uniform batter.

Now that's cleared up, preheat the oven to 350°F and line a couple of cookie sheets with parchment paper. If you don't have parchment paper, you can use a light spritz of baking spray. This is important because this cookie batter has relatively little fat in it compared to other cookies with a butter or shortening base, and it's fat that keeps cookies from sticking to the pan.

In a large bowl combine the cake mix, egg, and thawed whipped topping. It'll take some muscle to mix everything up into a batter, because the mixture will be thick. (I don't think I've tried making this with an electric mixer before, but I guess it couldn't hurt to try. However, I would be afraid of over-mixing, causing the whipped topping to lose its consistency.)


Place some powdered sugar in a shallow bowl and dip your fingers in it; the cookie batter is EXTREMELY sticky and difficult to get off your hands. Then start pinching off small amounts of dough and rolling them in the powdered sugar, giving the cookies a nice, thorough coating. Place the cookies on your prepared cookie sheet, giving them plenty of room to spread. I went ahead and flattened them a bit as well.


Then bake at 350°F for 10-12 minutes. Let the cookies cool for several minutes before moving them to a cooling rack or container, because they'll still need a little time to set up.


Once the cookies are nice and cooled off, you can call it a day and store them in an airtight container. Or, if you really like sugar, you can dust them with a little more, like I did. ;)


This recipe is also excellent when made with chocolate or white cake mix, and I would imagine that lemon or orange would be nice and refreshing as well. Experiment! It's fun. =) I happened to make them strawberry this time because my boyfriend loves strawberry. No matter what flavor you use, these cookies are sweet and chewy and just awesome.

Your cupcake,

~Jesia <3

Friday, August 10, 2012

Florida Key Lime Pie

While I was in Florida last month, I decided to send out some postcards to friends. One of them had a really simple recipe for Florida Key Lime Pie on it, which seemed interesting. So before sending it to a friend of mine who is in culinary school, I copied down the recipe. Luckily, I also found a digital copy of the postcard online to post here. =)

Here's what you need:

4 egg yolks
1-14 oz. can sweetened condensed milk
3 oz. Key Lime juice (equal to 6 tablespoons)
1 graham cracker pie crust
whipped cream

Yep, that's all you need! Don't believe me? Here's the postcard.


Assemble your ingredients and preheat the oven to 350ᵒF, please.


Simply combine the egg yolks and sweetened condensed milk in a bowl like so, and mix it up till it's all nice and combined...


Then start adding the Key Lime juice; I added 2 tablespoons at a time and mixed in between...


Once all 6 tablespoons (3 oz.) of the juice have been added, keep stirring until you have a nice, creamy consistency. Then pour it into your graham cracker crust...


And bake for 10 minutes at 350ᵒF...


Ta-dah! But hold on, you're not quite done yet. Let the pie cool for a bit on a wire rack, then place it in the fridge to let it chill completely before serving with whipped cream. =D


NOW, you can enjoy.

Your Cupcake,

~Jesia <3

Thursday, July 12, 2012

Cheesy Taco Bean Dip

So, this was my first time making bean dip, and it was super easy. It was also my first time eating it, and it was quite tasty, if I do say so myself. I used this recipe from the blog Life as a Lofthouse.

Here's what you need:

1 (8 oz.) package cream cheese
1 (8 oz.) package sour cream
1 tablespoon taco sauce (optional)
1 packet taco seasoning
1 large can (about 31 oz.) refried beans
1 (8 oz.) package (or 2 cups) shredded cheddar cheese*
1 (8 oz.) package (or 2 cups) shredded monterey jack cheese*

You'll also need some tortilla chips to serve this bean dip with!

*I actually used a 16 oz. package (4 cups) of "fiesta blend" shredded cheese, which contained both types of cheese called for in the recipe plus a couple of others.


Go ahead and preheat the oven to 350ᵒF and spray a 9"x13" glass casserole dish with cooking spray. You'll need a large mixing bowl and a utensil of choice (like a large spoon or a rubber spatula). First, mix together the cream cheese and sour cream (you'll probably want to soften the cream cheese; I was in a hurry and didn't do this, which resulted in small lumps of cream cheese throughout the mixture), then add the packet of taco seasoning and taco sauce and mix them in well. I personally went for a mild bean dip, using "cheesy" taco seasoning and mild sauce, but I'm sure you could spice it up with a hotter variety if you like. ;)


Next, add the can of refried beans and thoroughly incorporate it into the cream cheese mixture.


Then transfer the refried bean mixture to your casserole dish, making sure to spread it evenly.


Last, but certainly not least, top the bean mixture evenly with the shredded cheeses...


... and bake at 350ᵒF for 25-30 minutes, or until the cheese is nice and melted with a bit of a golden brown color to it. Voila! You have bean dip.


The layer of cheese is a bit thick, so you may need a spoon to break into the dip at first. You'll probably break your tortilla chip if you go straight in with it. =P Anyway, this recipe is easy, yummy, and perfect for get-togethers with friends or family. Enjoy!

Your Cupcake,

~Jesia <3

Monday, July 2, 2012

White Chip Brownies

My dad affectionately refers to these as "The World's Best Brownies," especially when served warm with vanilla ice cream and a bit of chocolate syrup. This recipe of homemade brownies is a brilliant creation from Nestlé® Toll House®. =)

Here's what you'll need:

1 cup all-purpose flour
1/2 cup baking cocoa powder
3/4 teaspoon baking powder
1/4 teaspoon salt
1 1/4 cup sugar
3/4 cup (1 1/2 sticks) butter, melted
2 teaspoons vanilla extract
3 eggs
1 (12 oz.) package white chocolate chips, divided

First off, preheat the oven to 350ᵒF and prepare a 9" square baking pan with foil (optional) and baking spray (not optional).

Then combine the flour, cocoa, baking powder, and salt together in a medium bowl. Set it aside for now.

In your mixing bowl combine the melted butter, sugar, and vanilla, and mix it up until it's nice and combined. Then add the eggs one at a time, mixing well after each addition. Next, gradually add all of the flour mixture and beat until well combined. (That's some yummy-looking batter, eh?) Lastly, add 1 1/2 cups of the white chocolate chips -- note that you don't add the entire bag! The remaining 1/2 cup will come into play later.

Pour the batter into your prepared pan and bake at 350ᵒF for 25-30 minutes. I always recommend checking a baked good after the minimum amount of time has passed. Today when I pulled out the pan after 25 minutes, the brownies were still gooey, as evidenced by the jiggling and using a toothpick to check for doneness, which came out with batter on it. I popped it back in the oven for five more minutes, and this time the toothpick only came out a little sticky, which, according to the recipe, means it's done! Hooray! Now it's time to let the brownies cool in the pan on a wire rack.

Once the brownies are cool, it's time to get out that other 1/2 cup of white chocolate chips. Now, I used to have no trouble with this part of the process, but the last time I made these brownies it just wouldn't come out right for some reason, and I ended up pretty much wasting a whooooole lotta white chocolate. =/ Anyway, the directions indicate that you add the remaining white chocolate chips to a heavy-duty (freezer-grade) zip-top bag and microwave it at 70% power for 30-45 seconds, then kneading the melting chocolate to mix. If it isn't completely smooth, you can continue microwaving at 70% power at 10-15 second intervals, kneading the chocolate in the bag each time until it's smooth. From what I understand, white chocolate is finicky when it comes to melting, and if it isn't done right it will harden (which is what happened to me last time). Anyway, assuming that it's done correctly, you then cut a tiny notch in a bottom corner of the bag and drizzle the white chocolate over the brownies however you desire. =)

Now, the directions indicate that you go ahead and drizzle the brownies while they're in the pan and uncut, and then refrigerate them for 5 minutes before cutting. I've run into problems with this method before, personally. After being refrigerated, the drizzle had hardened, and so when I cut the brownies the drizzle would pop off the brownies. =/ So I like to cut the brownies, remove them from the pan and place them on wax paper, and then drizzle each brownie individually. That way each brownie can keep its pretty white drizzle. =)


Now, if you want to go the extra mile, you can make a restaurant-style dessert out of these brownies. Warm up a brownie in the microwave for a few seconds and serve it with a scoop or two of vanilla ice cream and a drizzle of chocolate syrup over the ice cream. Not only is it absolutely scrumptious, but the arrangement is pretty too!


Mmmmm... Chocolaty, moist, and amazing with ice cream. (By the way, I apologize for the lack of pictures in this post. I honestly just didn't think about taking pictures during the process until it was already done. =P)

I definitely recommend this brownie, even if you're not a big fan of white chocolate (I'm not, and I think these are delicious). Enjoy it warm -- that's the best way!

Your Cupcake,

~Jesia <3