Saturday, October 20, 2012

Pumpkin Chip Brownies

Yep, it's that time of year again -- almost Halloween, followed by Thanksgiving. So it's time pull out the pumpkin and spices. If you're looking for something a little different this year, look no farther, because this recipe is pretty much a marriage between pumpkin pie and brownies.

Here's what you need:

1 box Duncan Hines® Chewy Fudge Brownie mix
2 eggs
1/2 cup plus 2 tablespoons vegetable oil, separated
1/4 cup water
3/4 cup canned pumpkin (roughly half of a small, 15 oz. can)
2 tablespoons sugar
1 teaspoon cinnamon
1/4 teaspoon cloves
1/4 teaspoon nutmeg
3/4 cup chocolate chips (I used semi-sweet because that's what I have on hand, but you can use whatever you think sounds yummy)
1 can Duncan Hines® Frosting Creations™ Frosting Starter
1 packet Duncan Hines® Frosting Creations™ Pumpkin Spice Flavor Mix (limited edition/seasonal)
Optional: 16 Mellowcreme® pumpkin candies, for decoration


First off, preheat the oven to 350°F; then line an 8"x8" square pan with foil and spray with cooking or baking spray. Next, combine the brownie mix, eggs, 1/2 cup vegetable oil, and water in your mixing bowl. Mix it up on low until a nice brownie batter forms, scraping the sides of the bowl as needed.


Set the bowl of brownie batter aside for now and get out another bowl. In this bowl combine the pumpkin, 2 tablespoons vegetable oil, sugar, cinnamon, cloves, and nutmeg. Mix it up well.


Next, scoop 3/4 cup of brownie batter out of your first bowl and add it to the pumpkin mixture. Mix the brownie batter and pumpkin mixture together.


Now add the chocolate chips to the remaining brownie batter in the first bowl and incorporate them thoroughly. Pour the brownie batter into your prepared pan and spread it evenly.


Next, spread the pumpkin mixture on top of the brownie batter in the pan. Then swirl the two batters together using a knife.


Bake for 40 minutes at 350°F, then let the brownies cool in the pan on a wire rack. Once it's cool enough, you can remove the batch of brownies by grabbing hold of the foil and carefully lifting it out of the pan; let the brownies continue to cool on the wire rack until they're completely cool.


Now to prepare the frosting! Mix the Pumpkin Spice Flavor Mix into the can of Frosting Starter as per package directions, making sure to stir until there are no more white streaks in the frosting.

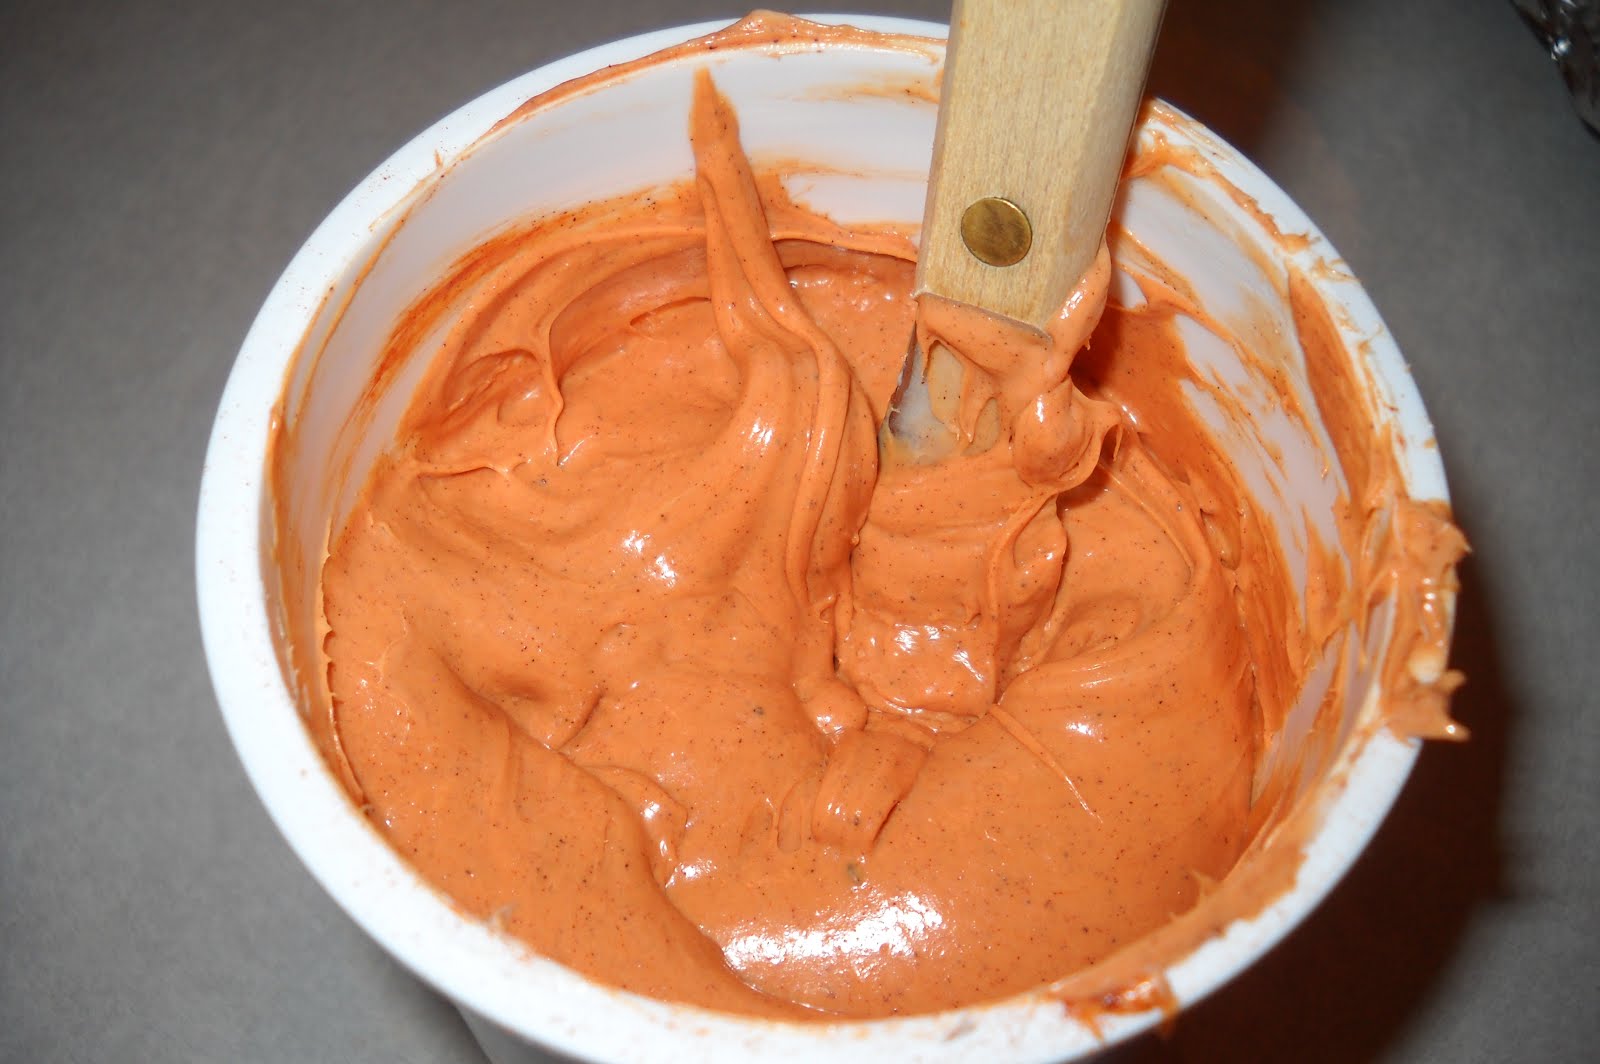


Slather that can of frosting all over your cooled brownies, making sure to spread evenly.


Lastly, carefully cut into 16 brownies with a small, thin knife. Top each brownie with a Mellowcreme® pumpkin candy, if desired. I personally think it adds a cute touch, plus you can use it as an indication of the flavor of the brownies. =)


Ta-dah! Pumpkin Chip Brownies: perfect for a Halloween party. =D The only thing I want to caution about is that, honestly, Duncan Hines® Frosting Creations™ frosting, while tasty and innovative, is thinner and runnier than other canned frostings and homemade buttercream. I tried refrigerating the frosted brownies before cutting them, but it didn't seem to help very much. The bottom line is that this frosting is, unfortunately, messy. I do wonder if you could make a homemade buttercream icing, minus the vanilla extract, and add the flavor packet to that instead. If anyone ever tries it, let me know how it turns out!

Your Cupcake,

~Jesia <3

Wednesday, October 17, 2012

Orange Crème Whoopie Pies

Okay, so here's the deal. I entered a Duncan Hines® baking contest back in August, and while I didn't win, I DID come home with more than enough free products to make up for the entry fee. Part of what I took home was four cans of their Frosting Creations™ Frosting Starter, not realizing that they had expiration dates by the end of the year. Yikes! And I already had two cans at home that I got with coupons, so that left me with six. I used one on some cupcakes a while back, but now that it's getting closer to the expiration dates, I'm having to use them up fast.

Enter this recipe for Orange Crème Whoopie Pies. It takes two cans of Duncan Hines® Frosting Creations™ to make, AND I already happened to have the flavor packets I needed. Plus, I'd never made whoopie pies before, so I was interested to see how they'd turn out!

Here's what you need:

1 (18.25 oz.) box chocolate cake mix*
1/2 cup all-purpose flour
3 eggs
1/2 cup vegetable oil
1 1/3 cups water
2 cans Duncan Hines® Frosting Creations™ Frosting Starter
2 packets Duncan Hines® Frosting Creations™ Orange Crème Flavor Mix


*The website doesn't give a weight for their cake mixes since they've changed, but I'm sticking to my guns on using the 18.25 oz. packages as long as I can find them. Luckily, Duncan Hines® has only changed the weight for their "classic" mixes and left their "signature" line alone, so for this particular recipe I used Duncan Hines® Swiss Chocolate flavor cake mix. I found out that a local grocery store carries pretty much all of Duncan Hines®' signature cake mixes, which is a great relief! Other than these, you could also use a store brand that is still 18.25-18.5 oz. or two 9 oz. boxes of Jiffy® brand (which is close enough). Of course, you could also just use the reformulated cake mixes, but I simply choose not to on principle.

Anyhow, let's get to the baking! Preheat the oven to 350°F and line a couple of cookie sheets with parchment paper (trust me, parchment paper is CRITICAL in this recipe). Then throw together all of your ingredients into the mixing bowl except for the Frosting Starter and Flavor Mixes. Mix it up until it's nice and combined; the batter will be relatively thin.


Now you'll need to use a cookie scoop that is about the size of a tablespoon to scoop out even portions of batter onto the cookie sheets. It's important to do as the recipe says and put no more than 6-8 little cakes on each cookie sheet, because they do spread quite a bit. I did 6 to a sheet. Bake them for 8 minutes at 350°F, then let them cool off before moving the parchment paper, with the cakes still on it, to a cooling rack. Then you can put some more parchment paper on the cookie sheet and scoop out some more little cakes.


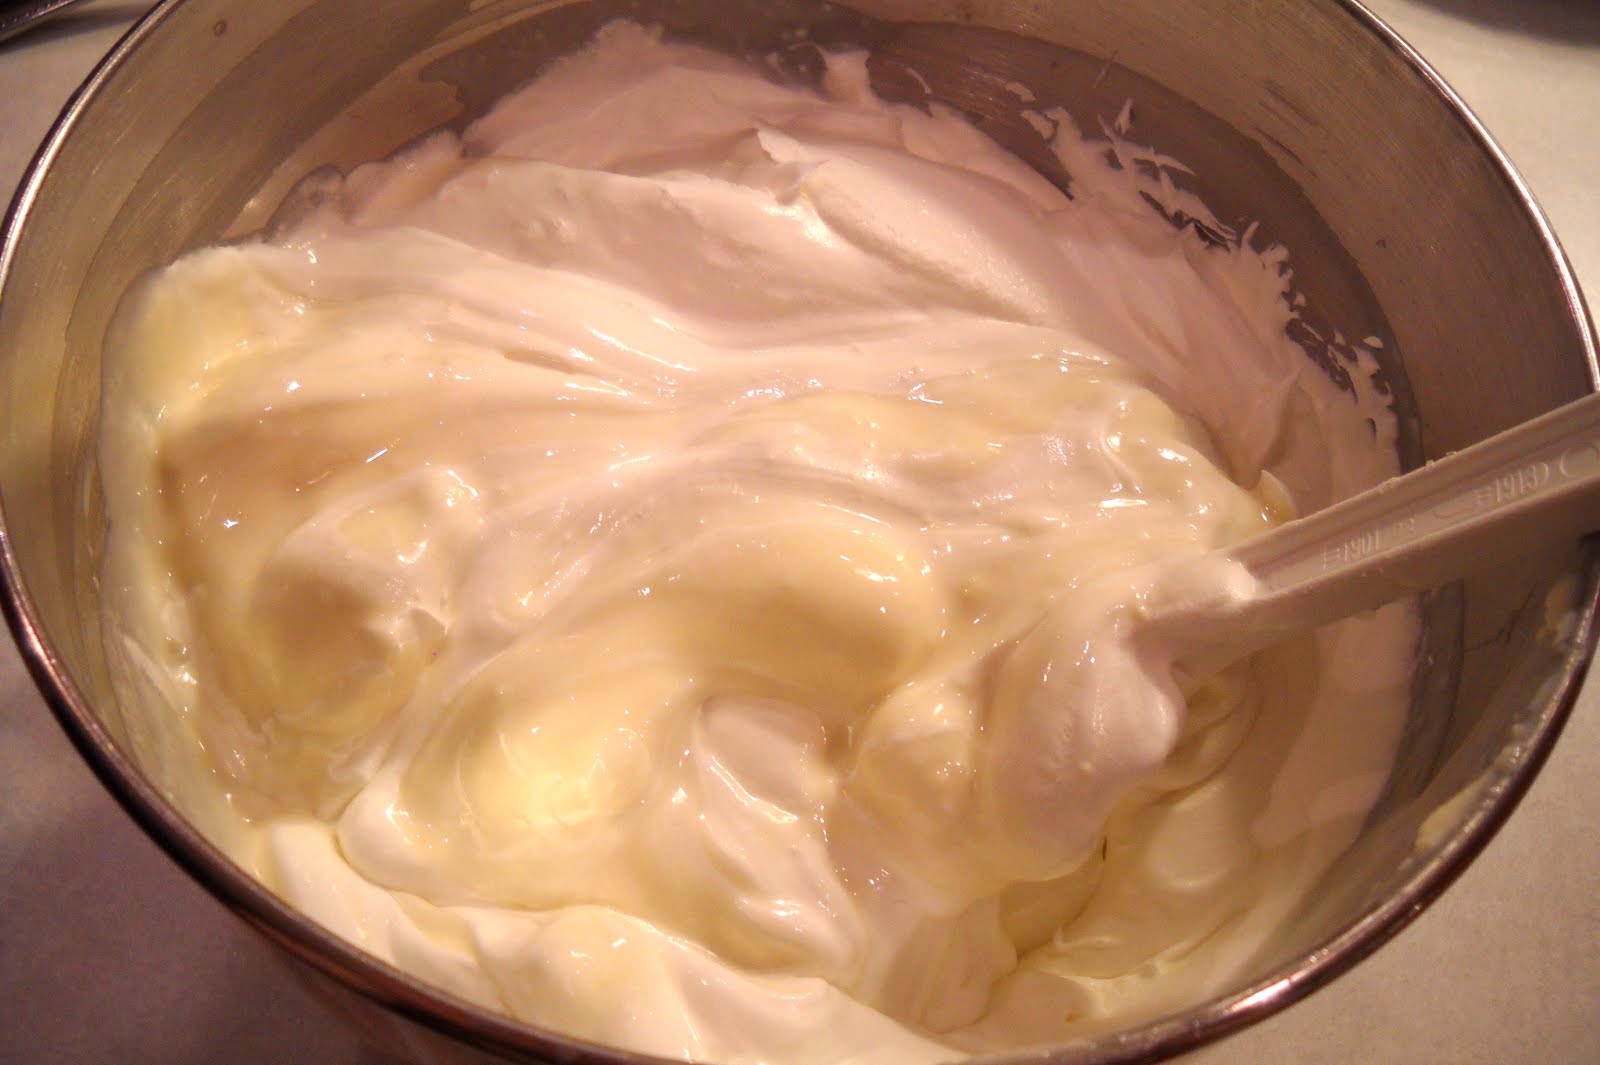
While you're letting the little cakes cool and baking up some more (it takes several batches), you can go ahead and stir up the orange crème frosting as indicated on the cans. Also, since the Frosting Creations™ frostings tend to be quite a bit thinner, you may want to let them chill in the fridge for a bit after mixing them up.


Finally, once your little cakes are completely cool, you can begin the delicate process of turning them into whoopie pies. I say this is a delicate process because I had some trouble with it, personally. The little cakes are so delicate and moist that touching them at all leaves some kind of mark on the cake and crumbs on whatever surface it touched. Basically, the best way I found to do this was to carefully peel off one little cake from the parchment paper, turn it upside down (flat-side up), and place it right back in its spot on the parchment paper (bits of the cake are left behind on the paper). Then, carefully glob on some orange crème frosting, spreading it to the edges with a knife or spatula. Lastly, carefully peel off another little cake from the parchment paper and place it on top of the little cake you just iced to make a sandwich. Ta-dah! Whoopie pies.

I cannot stress enough how delicate and messy these whoopie pies are. I really doubt that I'll make this particular recipe again, even though they are reasonably tasty. For one, the little cakes are just too moist and delicate to handle without marring them, and the Frosting Creations™ frosting is simply too thin and runny to be used in a sandwich cookie of any kind. By the way, I don't care what the Duncan Hines® website says -- storing these whoopie pies in between layers of wax paper doesn't make them pretty. Seriously, you just can't move or touch these with anything without making them ugly. =( Oh well, you live and you learn, right? Hopefully I can find a better whoopie pie recipe to try again someday. =)

Your Cupcake,

~Jesia <3

Sunday, September 30, 2012

Peanut Butter Cookie Cups

Halloween is coming up soon, which means one thing: CANDY. And lots of it. Need ideas on how to convert regular candy into yummy home-baked treats to share with friends? Here's one for the Reese's® lovers. :D

All you need is two things:

2 packages (24 cookies each) refrigerated break-and-bake style peanut butter and milk chocolate chip cookie dough*
24 Reese's® peanut butter cups**

*I like the break-and-bake cookie dough for convenience, but you could also use a tub variety or make your own cookie dough. Just measure out about a tablespoon of cookie dough for each piece of the break-and-bake variety.

**The original recipe calls for full-size Reese's®, but I accidentally bought "snack-size," which are a little smaller; I was more concerned with price comparisons. But I think it may have turned out for the better in the end, because the snack-size ones fit just right in between two pieces of cookie dough.

Prepare the preparations! Line two cupcake pans with paper cupcake liners, unwrap all of your Reese's® completely, preheat the oven to 350°F, and unwrap a package of cookie dough. (You might want to keep one package in the fridge until it's time to use it, because the dough gets really sticky and difficult to work with when it's been sitting out a while.)

Now to put together the cookie cups. =) Simply take one piece of cookie dough and flatten it out a bit into a circle that's just a little bigger than your Reese's® cup.

Then place a Reese's® cup in the middle of your piece of dough and start carefully smooshing the extra bits of dough up the sides of the candy.

Next, place another piece of cookie dough on top of the Reese's® cup and start flattening it out and spreading it to the sides, making sure to encase the entire candy in cookie dough and seal the edges together.

And that's it! Carefully plop your cookie cup into one of the lined cavities of your cupcake pan, and repeat the process until you've made your first dozen.

Then pop it in the oven for about 13 minutes... While you're waiting, you can go ahead and start on the second dozen.

Aren't they pretty? Unfortunately, they do have a tendency to sink quite a bit as they cool, but that doesn't keep them from being yummy. :D Before digging in, you may want to pour yourself a glass of milk.

Want to see what they look like on the inside? I thought so.
Mmmmm, ooey-gooey chocolate-peanut buttery cookie bliss. <3 They're so good and so easy to make that it should be illegal. Of course, there are several different varieties of this recipe you could try with different candies, cookie doughs, and even brownie batters. That's the beauty of it. Use your imagination and enjoy!

Your Cupcake,

~Jesia <3

Sunday, September 16, 2012

"Boyfriend" Cookies

A friend from my college Japanese class shared this recipe with me recently, and I was like, "OMG, I must make this." They're called Boyfriend Cookies. Apparently they're supposed to help you obtain or keep a boyfriend, or perhaps serve as a substitute. ;) When you see the list of ingredients, you'll understand why this is the most ridiculous cookie recipe I think I've ever made. I did change a couple of small things from the original recipe, however.

Here's what you need:

1 cup (2 sticks) butter, softened
3/4 cup packed brown sugar
1/4 cup sugar
1 small (3.4 oz.) package instant vanilla pudding mix
2 eggs
1 teaspoon vanilla extract
2 1/4 cups all-purpose flour
1 teaspoon baking soda
~Here's where it gets crazy...~
1 cup semi-sweet chocolate chips
1 (11 oz.) package milk chocolate chips and peanut butter chips*
1/2 cup white chocolate chips
1/2 cup M&Ms® milk chocolate candy (I used miniature, but regular size works too)
1/2 cup Reese's Pieces® candy (I used regular size, but miniature works too; you can find mini Reese's Pieces® with the chocolate chips in the baking aisle)

*The original recipe calls for 1 cup milk chocolate chips and 1/2 cup peanut butter chips, but I opted to use a bag of mixed milk chocolate and peanut butter chips to save money. Originally I was going to use 1 1/2 cups of this mixture, but there was so little left after measuring that I went ahead and used the whole bag.

Are you ready for this? You sure? All right then. Preheat the oven to 375ᵒF and prepare to have your mind blown.

Start out by creaming together the softened butter and both the brown and white sugars.


Once the butter and sugars are all nice and combined, add the instant vanilla pudding mix, eggs, and vanilla, and mix it up some more. While it's mixing, combine the flour and baking soda in a separate bowl. Once the eggs, pudding mix, and vanilla are well-incorporated, start adding the flour mixture a little at a time. This forms a pretty heavy dough.


Now is the fun part. Add all of those different chocolate chips and candies and mix it up on low speed, just until everything is evenly distributed.


Holy moly, right? When I lifted the mixer head, it plopped back down on its own from the weight of the dough stuck on the paddle. This is some serious stuff. Now to lay down some cookies! I like to use a small ice cream scoop (probably equivalent to about a tablespoon); I think I got about 6 or 7 dozen small cookies total.


Usually I would use parchment paper on the cookie sheets, but I was out. ~.~ That's okay, though, because the pans don't require greasing. Just be sure to scrape/wipe off any bits of cookie in between batches. Bake at 375ᵒF for 10-12 minutes.


Ohhhhhh baby... Let the cookies sit for a couple of minutes before transferring them to a wire rack to cool completely (or you can eat them warm with a glass of cold milk, which is definitely recommended). Store the cooled cookies in an airtight container, you know, if you have any left to store.


Who needs a boyfriend when you have cookies, right? (But really, I love you and miss you, Paul! <3 It's just too bad that you don't like chocolate, sweetheart.)

With love, your cupcake,

~Jesia <3

Tuesday, September 11, 2012

Mom's Birthday Pie

I wasn't sure what else to call this... I guess I could've just called it "Freezer Caramel Drizzle Pie" like the original recipe does, but I don't think that name really captures the essence of this pie. I mean, there's a lot more going on here than caramel and a freezer. There's also toasted coconut and pecans, and cream cheese blended with sweetened condensed milk and whipped topping. How do you express all of that in the form of a recipe title?

Anywho, my mom found this recipe and decided that she wanted this frozen treat for her birthday instead of a traditional birthday cake. Just beware, this recipe does take advanced preparation, as you must let a large tub of whipped topping thaw in the fridge for a few hours, and once the pies are made they have to sit in the freezer overnight.

Here's what you'll need -- no oven required!

2 9-inch prepared graham cracker crusts
6 tablespoons butter
1 (7 oz.) package shredded or flaked coconut
1 cup chopped pecans
1 (14 oz.) can sweetened condensed milk
1 (8 oz.) package cream cheese, softened
1 (16 oz.) tub frozen whipped topping, thawed*
1 (12 oz.) jar caramel sauce

*The tub should tell you how to properly thaw the frozen whipped topping. The package I had said to let it sit in the fridge for 6 hours.

First you'll want to prepare the topping. Get out a nice big skillet and heat it up to medium, melting the butter. Once the butter is melted, add the coconut and chopped pecans and make sure it all gets a nice coating of butter. You'll want to keep the mixture moving at regular intervals to avoid burning it, as you just want it to get nice and lightly toasted. This will take about 5 minutes. Once it's done, you'll want to turn off the heat and set it aside for later.


Next you'll want to soften the cream cheese. I usually throw it in a microwavable bowl and microwave it for about 30 seconds; alternatively, you could let it soften by letting it sit on the counter at room temperature for a while. Either way, you'll want to combine the softened cream cheese and your can of sweetened condensed milk in a large mixing bowl and get to mixing. I turned the mixer up to probably medium or so, letting the ingredients get nice and whipped together so that there weren't any chunks of cream cheese.


Next up, you'll need a big rubber spatula to fold in the entire 16-ounce tub of thawed whipped topping. This really adds quite a bit of volume to the pie mixture. I kept folding and mixing gently until the mixture was nice and uniform.


Now to assemble! Pull out those pie crusts and add about 1/4 of the cream cheese and whipped topping mixture to each. Then top each with a layer of gooey delicious caramel sauce (yum!). The recipe says to drizzle, but I pretty well covered the first layer of the cream cheese mixture on both pies, using the back of a spoon to spread it out a bit. Then you'll want to repeat the layers with the remaining cream cheese mixture and caramel sauce. (I'll admit, the first layer of caramel sauce was a little heavy and I had very little of it left for the second layer of caramel, but I think it turned out fine anyway.)


It's looking pretty sweet, right? But we're not done just yet. Remember that toasty coconut and pecan topping we made earlier? Spread half of it on top of each pie.


Now it's like "whooooooooa." You might get a cavity just looking at it. Anyway, now it's time for the painful part of the process. You must let the pies sit in the freezer overnight. Horrible, isn't it? But according to my mom, it's worth the wait. Actually, she says it's the best pie she's ever had, and possibly the best dessert she's ever eaten.


I'm glad you liked it so much, Mom. Happy birthday! I love you. <3

Your Cupcake,

~Jesia <3