Saturday, April 28, 2012

Chicken Alfredo

Are you getting tired of pasta recipes yet? Yeah, like I said, I love pasta. So when I saw this recipe for an easy homemade Alfredo sauce, I had to give it a try. After all, some reviewers claimed that if you added garlic, it was just like Olive Garden®'s, which is delicious.

So here's what you need for the homemade Alfredo sauce:

1/2 cup (1 stick) butter
1 pint heavy whipping cream
1 1/2 cups grated Parmesan cheese
Garlic, to taste

Yeah, this is by no means a health food. Also, this recipe made quite a bit of sauce, possibly enough for a whole pound of pasta. After all, it is pretty rich and creamy. I'm sure you could cut the recipe in half, or just save any leftover sauce in the fridge.

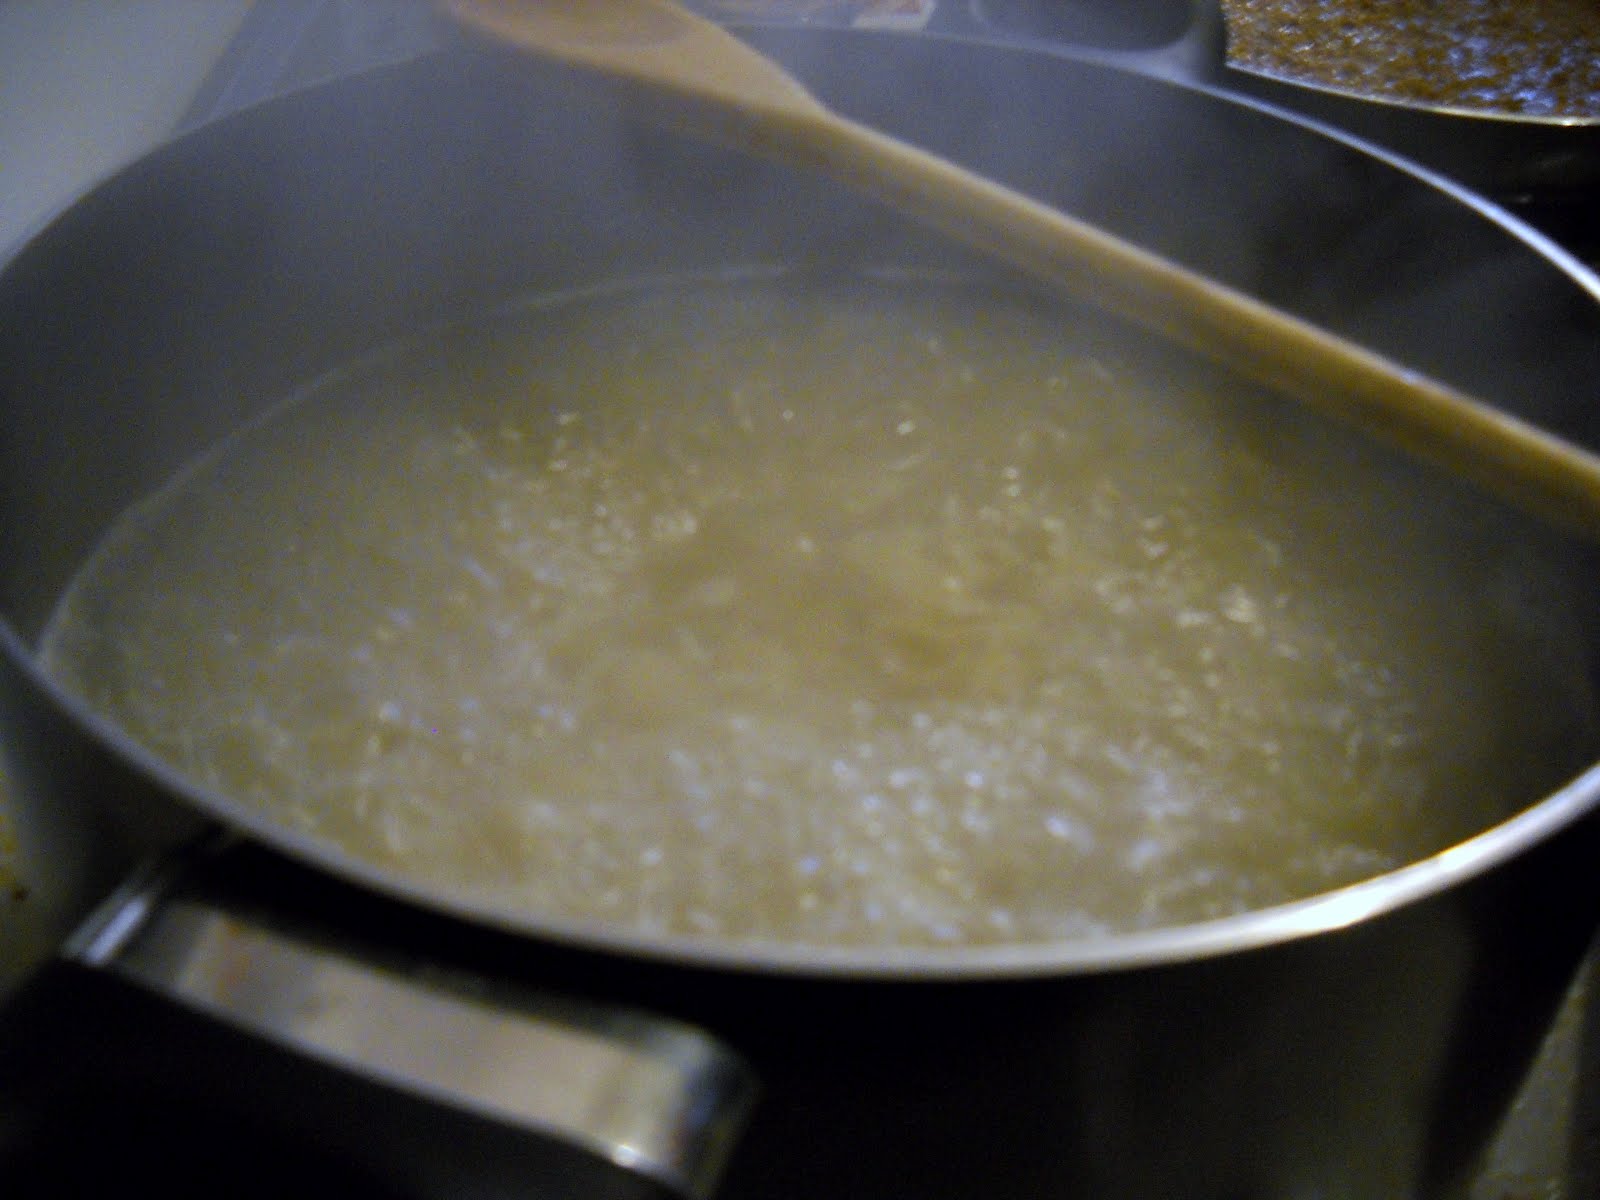
First off, start melting the butter in a medium sauce pot on medium-low heat (a notch or two above low).


Once the butter is melted, add the heavy whipping cream and combine it well with a whisk. Stir often, and once the mixture starts to get nice and hot, start adding the Parmesan cheese 1/2 cup at a time. In between adding the 1/2 cups of cheese, whisk the mixture and let it have some time to melt and get creamy. Lastly, add some garlic (I used powder, but I'm sure fresh garlic would be much better). Once the sauce is creamy and mixed well, turn off the heat. It will thicken upon standing.


As for the chicken part of this meal, I kind of improvised. I'm not very practiced with preparing chicken. I bought about a pound of boneless chicken breast tenderloins, and my boyfriend, Paul, took care of taking off the skin and chewy, stringy bits and cutting it up into cubes.


You can cook the chicken however you want, of course. I kind of went off another chicken Alfredo recipe for this part. We put a little oil in a hot frying pan and cooked the raw chicken in batches, adding Italian seasoning. (I'm sure some other spices would be great too, like minced onion, garlic, parsley, salt, and pepper.) The chicken is done when it's no longer pink inside and out.


Once a batch of chicken is done, set it aside and cook some more, until all of it is done.


Serve the sauce and chicken over fettuccine or whatever pasta you like.


This was pretty tasty and got Paul's seal of approval. I do think that the chicken was a little bland, though, which is why I mentioned several other spices that would probably make it taste better. I'm sure it would also be good grilled or baked as well. I get the feeling that this is one of those recipes that you can improve on with practice and trial and error. =) If you give this a try, let me know how it turns out!

Your Cupcake,

~Jesia <3

Saturday, April 21, 2012

Gooey Rolo® Blondies

I love Rolo® candies. I mean, they're small, sweet, chewy, and come in cute little gold foil wrappers... What more could you ask for? Oh, right, a dessert MADE with Rolo®! I found this simple recipe a little while back and saved it.

I was reluctant to change anything about it, but I couldn't help but wonder if the caramel in the candies would be enough. So I decided to experiment by drizzling some caramel on top of the confection once it was finished.

Here's what you need:

1 (18.25 oz.) box yellow or white cake mix
1/4 cup (1/2 stick) butter, melted
5 oz. evaporated milk
45 Rolo® candies, unwrapped and cut in half
Caramel dessert topping


First thing's first: a bit of prep work. Unwrap each of the 45 Rolo® candies and carefully cut them in half. Since it was a bit warm in my apartment, after I was done with this step, I placed the bowl of candies in the fridge. By the way, the bag of Rolo® I got had 55 candies in it, so you COULD use all of them. But hey, I don't mind having a few extra around. ;)


Next preheat the oven to 350ᵒF and grease a 13"x9" baking pan with cooking/baking spray. (Using foil to line the pan is my personal preference. It can make it a lot easier to get the confection out of the pan when it's done in that you can carefully lift the entire thing out by the foil and then cut into bars outside the pan.)

Combine the cake mix, melted butter, and evaporated milk in your mixing bowl.


Mix it up on low speed until the batter is nicely combined, stopping to scrape the bowl and paddle as needed.


Cut the dough in half using a rubber spatula.


Spread half of the dough in the bottom of your prepared 13"x9" pan. It's super sticky and difficult to spread, so I ended up spraying my rubber spatula with cooking spray and used it to spread the batter, going back to cover up holes in the layer as needed.


Bake for about 6-8 minutes, just until the bottom layer is set. Then remove the pan from the oven and place the Rolo® candies caramel-side down all over the hot baked layer.


Then (this part was a little tricky for me) place little dollops or small spoonfuls of the remaining dough all over the candies. Don't worry about spreading this layer like the bottom one. Just cover as best as you can.


Then bake for about 18-20 more minutes. It will be golden brown.


And, if desired, drizzle some caramel dessert topping over the entire thing. Mmm!


Now that's some sweet stuff. ;)


I followed the baking directions from the original recipe when I made this batch (8 minutes, then 20 minutes), but I think it may have been just a little overdone. After all, when the bars sit in the hot pan after you take it out of the oven, it continues baking for a little bit. So, the time ranges that I gave above are slightly altered. If you give this recipe a try, let me know how it turns out! =)

Your Cupcake,

~Jesia <3

Thursday, April 19, 2012

Italian-Style Meatballs

This was my first time making homemade meatballs, and I wasn't disappointed. The recipe I found is interesting in that the meatballs are slow-cooked in tomato sauce for 3 hours instead of baked. While this does make them delicious, it also requires, well, time, which a lot of people seem to be short on these days. No matter! This recipe is worth it.

Here's what you'll need:

1 lb. ground beef*
1 egg
1/4 cup milk
1/4 cup grated Parmesan cheese
1/2 cup bread crumbs**
Salt
Pepper
Garlic (I'd recommend omitting the plain salt if you use garlic salt)
Parsley flakes
Minced onion
1 jar (about 24 oz.) of your favorite spaghetti sauce

*I used lean ground beef since there isn't a way to drain off the excess fat in this recipe; the meatballs cook right in the sauce. I also read that for an even more "authentic" Italian flavor, you can use equal parts of ground beef, veal, and pork.

**I happened to have Italian-style bread crumbs on hand, which were already seasoned, so I went lighter on the extra spices; you'll probably want to use more if you use plain bread crumbs, perhaps even adding Italian seasoning. Of course, you can add whatever spices you like.


In a large bowl, combine the meat, egg, milk, Parmesan cheese, bread crumbs, and spices. (I didn't bother measuring the spices; I simply eyeballed it and added however much I thought was appropriate.)


Make sure to wash your hands thoroughly before and after handling raw meat! In particular you'll want to pay attention to your fingernails, as meat and other things can get caught under them.

Use your hands to incorporate all the ingredients together. (I know, it's cold, isn't it?)

"Braaaaaaaaaaainsssss..."

Go ahead and pour your jar of spaghetti sauce into a large saucepan or slow-cooker so that it can start warming up. Use the "low" setting on a slow-cooker or a notch or two above low for the stove top.

Now it's time to shape the meatballs. Simply pinch off some of the meat mixture and roll it into a ball in your hands (like you would with Play-Doh). You could also use a small ice cream or cookie scoop if you want more even portions, but I didn't have one on hand; just make sure that you still roll the meatball in your hands so as to be sure that they're nice and solid. How many meatballs you get out of the mixture depends on how large or small you make them. I made mine about the size of ping-pong or golf balls, which yielded 27.


Now it's time to add the raw meatballs to your pot of sauce! You can use a pot on the stove top or a slow-cooker. I borrowed a friend's Crock-Pot® for the task.


Gently stir the meatballs so that they all get a coating of sauce. Cover the pot and simmer for 3 hours. (Yes, 3 hours.) I checked on it every now and then and gave the meatballs a gentle stir.


Looks good, eh? And trust me, it smells good too. Mmm... You can serve these bad boys over some pasta with a side of garlic bread like I did, or you could put them on some nice thick bread to make a meatball sub.


Yum yum! Not a single meatball was left last night. =) I think it's safe to say that it was a success. I would definitely make this again.

Your Cupcake,

~Jesia <3

Friday, April 13, 2012

Mexican Macaroni

First off, I just want to say a big "thank you" to my friend Heather, who gave me the basis for this recipe. =) It was so delicious! This recipe combines two of my favorite dishes to make at home: tacos and macaroni and cheese. It's kind of like Hamburger Helper®, except BETTER.

Here's what you'll need:

2 boxes Kraft® Velveeta® Shells and Cheese
1 lb. ground beef
1 packet of your favorite taco seasoning (I used McCormick® Cheesy Taco, which requires 3/4 cup milk)
1 tablespoon (more or less to taste) mild taco sauce

As for optional toppings, I used these:

Shredded Mexican or taco-style cheese
Sour cream
Your favorite salsa

Let's get started! First off get a large pot of water boiling and add the pasta from both boxes of Velveeta® Shells and Cheese. Set aside the packets of cheese sauce for later.


While the pasta cooks, start browning the ground beef in a skillet over medium-high heat. Just don't forget to stir the pasta every now and then and keep an eye on it for doneness; it should take about 10 minutes. Once the ground beef is fully cooked, drain the fat and return the meat to the skillet. Add the taco seasoning as directed on the packet and stir it in well. Once the pasta is cooked, drain the water and return the shells back to the pot. Now it's time to add the two packets of cheese sauce and the taco sauce to the pasta.


And stir it up! Make sure all the noodles get a nice coating.


When the beef has finished simmering with the taco seasoning, it'll look like this.


Now simply add the finished taco meat to the finished shells and cheese mixture


And mix it up!


You could serve the Mexican Macaroni as is, but I think that a few appropriate toppings really make it pop! I added a small mound of fiesta-blend shredded cheese, a dollop of sour cream, and some restaurant-style mild salsa. Tah-dah!


This recipe can easily feed 4-6 people. You can also serve it with a side of nachos and salsa. I hope you enjoy it as much as I did! It was difficult to stop eating, but so filling.

Your Cupcake,

~Jesia <3